From embracing arts and crafts with the family to creating DIY greeting cards, there are many reasons why you may need to add glue to your arts and crafts kit. But did you know you can make your own at home?
In this guide, we give insight into the best glues for crafting. As well as a detailed step-by-step guide on how to make them. Read on to discover more.
A Crafter’s Best Friend
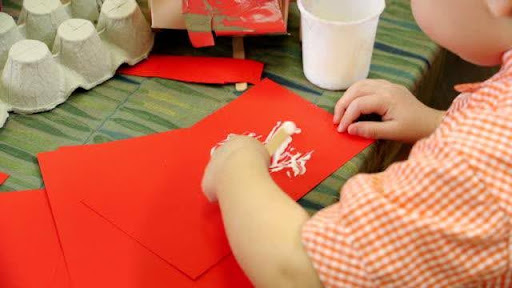
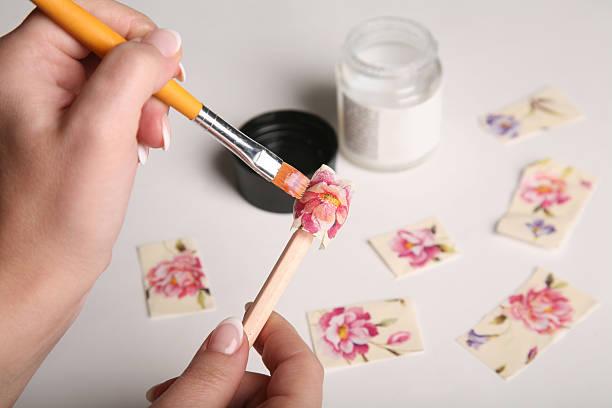
PVA glue is a crafter’s best friend. It can be used to upscale and attach pieces of tissue paper and is an asset if you’re a keen scrapbooker. This staple glue is safe and effective and can be made with ingredients you likely already have in the kitchen cupboard.
What is PVA?
Before we delve into how to make this glue, let’s learn more about it. In a nutshell, it’s a thermoplastic and a vinyl polymer. With its rubbery consistency, this adhesive is a great tool to invest in if you wish to stick items to porous materials, such as paper and wood.
One of its benefits? It dries clear, meaning it won’t affect the project you are working on aesthetically. However, if you wish to make the glue part of a design, your colored versions are available too.
Making Your Glue At Home
Although this glue can be purchased from various places, spanning supermarkets to online craft stores, you can make it at home using the following ingredients:
- 2 tbsp of baking soda
- 3 tbsp of vinegar (Or lemon juice)
- 1 tbsp of mouthwash
- 300g of sugar
- 190g plain white flour
- 1 liter of water at room temperature
Step-by-Step Guide
Once you have collated the above ingredients, follow the below method to make the glue. We’ve listed the simple steps required:
- Measuring 56 ml of water, refrigerate until chilled
- Combine your flour with gore-chilled water until you create a smooth consistency
- Taking the raining water, place this on the boil
- When the water is boiling, pour your chilled flour and water mixture into the boiling water slowly. You will need to stir the mixture as you pour. This section may require a little help or more than two hands.
- Once you have achieved a tacky, thick consistency, stop stirring.
- At this point, pour your sugar into the mixture.
- Once stirred in, refrigerate until chilled.
- Voila! Your glue is ready to be put into action.
Other Tips Worth Noting
Now you have your DIY glue to hand, you can start getting creative. Before you begin, here are a few handy tips to take note of:
Drying Time: This glue can take up to 30 minutes to dry. Before moving projects or using them, leave them to dry in a well-ventilated space. Drying times can vary depending on how much glue you use. For example, if thick layers are applied, your project may take longer.
Removing Glue: When using this glue for arts and crafts, if working with little ones, this substance can come into contact with surfaces, carpets, and clothes. Thankfully, it’s easy to remove, provided you know how. The easiest way to remove this glue from surfaces is to be patient! Avoid rubbing or dabbing at it while still wet.
Once fully dry, you can easily scrape it off various surfaces. You can use your nails or a blunt tool, such as the back of a spoon. If the glue is embedded into clothing fibers, wait until it is dry again, then carefully scribe the affected area using an old toothbrush. For tough stains, use washing-up liquid and warm water. For stubborn stains on wood flooring or furniture, use white spirit.
Why Make Your Glue?
Polyvinyl Acetate glue is a versatile tool to add to your arts and crafts tool kit. It’s safe for children to use, and it offers a multitude of practical uses. If you are struggling to find an affordable glue, the store is closed, or you need it immediately, making your own is a great way to ensure you always have this staple in your craft kit. Once you have it in hand, you can ensure that every rainy day will be filled with art projects. After all, embracing art enhances expression, heightens communication skills, and lessens stress hormones.
In addition, you’ll always have a helping hand when quick fixes around the home and office are required.
The Bottom Line
Polyvinyl Acetate glue is easy to use, non-toxic, clean (if you make a mistake), and, most importantly, strong. This makes it one of the best glues for craft purposes. It can be used to adhere to items in various projects. These include needlework, papercraft, bookbinding, textiles, and fibercraft.
Instead of buying this glue, you can make it at home using a few simple ingredients you will likely already have to hand. Whether you need to help your child finish a last-minute project or you need to make a quick fix on a household object, being able to make this handy substance – without having to leave the house – is a godsend.