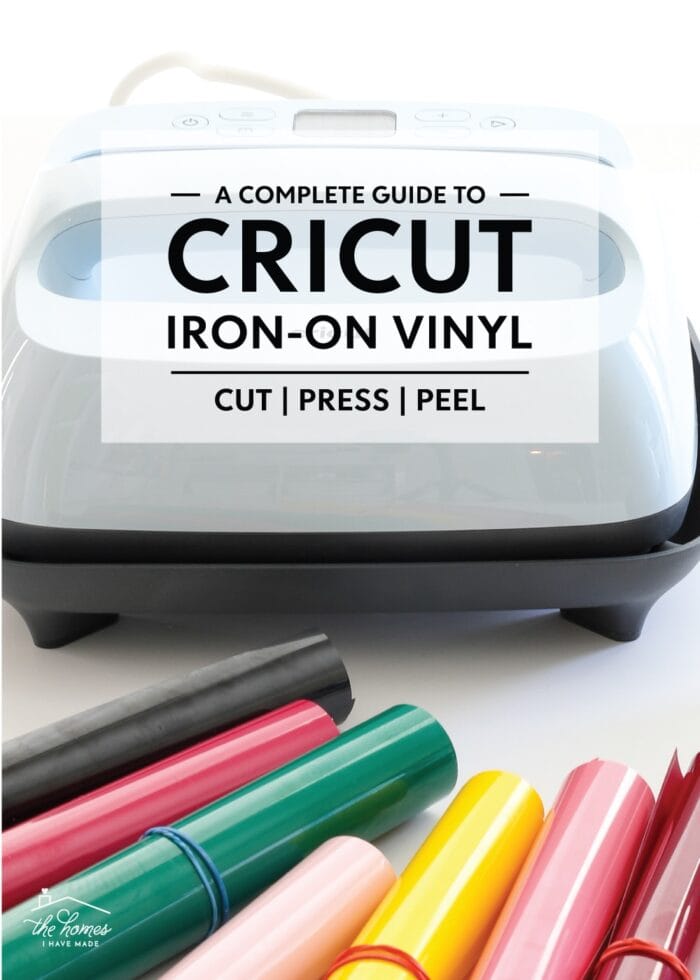
Heat transfer vinyl (HTV) has revolutionized the world of DIY crafting and apparel customization. Whether you’re a hobbyist or a professional, HTV offers endless possibilities for personalizing items with intricate designs and vibrant colors. In this guide, we’ll explore essential tips, tricks, and techniques to make the most out of your heat transfer vinyl projects.
What is Heat Transfer Vinyl?
Heat transfer vinyl is a type of material used to create custom designs on fabrics. It comes with an adhesive backing that, when heated, sticks to various surfaces. This makes it a favorite among crafters for creating custom t-shirts, bags, and more. HTV is versatile and can be used on different fabric types, making it an essential tool for anyone interested in garment decoration.
Choosing the Right Heat Transfer Vinyl
The first step to a successful project is selecting the appropriate HTV. There are different types of HTV, including:
- Standard HTV: Perfect for cotton, polyester, and poly/cotton blends.
- Stretch HTV: Ideal for stretchy fabrics like spandex and lycra.
- Glitter HTV: Adds sparkle and shine to your designs.
- Holographic HTV: Provides a reflective, multi-dimensional look.
Consider the fabric type and the desired effect when choosing your HTV. The right choice can significantly impact the final appearance and durability of your design.
Preparing Your Design
Before you start, it’s crucial to prepare your design correctly. Use design software like Adobe Illustrator or free alternatives like Inkscape to create your graphics. Ensure your design is mirrored horizontally before cutting, as you’ll be applying it face-down. Proper preparation can save time and materials, ensuring a smooth transfer process.
Cutting and Weeding
Cutting your HTV accurately is essential. Use a cutting machine like Cricut or Silhouette for precise results. After cutting, the next step is weeding, which involves removing the excess vinyl from around your design. Use weeding tools to make this process easier, especially for intricate designs. Patience and attention to detail during weeding can enhance the final look of your project.
Application Techniques
Proper application ensures your design lasts long and looks professional. Here’s how to do it:
- Preheat Your Fabric: Remove moisture and wrinkles by preheating your fabric for a few seconds.
- Position Your Design: Place the HTV design on the fabric with the adhesive side down.
- Apply Heat and Pressure: Use a heat press or an iron. If using an iron, apply firm pressure for about 10-15 seconds.
- Peel the Carrier Sheet: Let the vinyl cool slightly, then peel the carrier sheet away. For some HTV types, you might need to peel hot; for others, peel cold.
Mastering these techniques can result in a professional-looking, durable design that withstands wear and washing.
Care and Maintenance
To ensure longevity, follow these care tips:
- Wash Inside Out: Protect the design by washing the garment inside out.
- Use Mild Detergent: Avoid harsh chemicals that can degrade the vinyl.
- Hang Dry or Tumble Dry Low: High heat can cause the vinyl to crack or peel.
Adhering to these care instructions helps maintain the quality and appearance of your HTV designs over time.
Conclusion
Heat transfer vinyl opens up a world of creative possibilities. With the right techniques and a bit of practice, you can produce professional-quality designs at home. Experiment with different types of HTV and discover the joy of customizing your apparel and accessories. Happy crafting! Remember, the key to mastering HTV is practice and experimentation—don’t be afraid to try new designs and methods to find what works best for you.


