GE washers are popular appliances known for their reliability and efficiency in cleaning clothes. However, like any other household appliance, they may encounter issues over time that require repair. Knowing how to troubleshoot and fix these problems can save you time and money.
Common Issues with GE Washers
We turned to Jacob Dillard, an engineer at Appliance Repair Expert, for insight into the frequent breakdowns of GE washers, for which we thank him very much.
- Noisy Operation. One of the most common problems with GE washers is noisy operation. This can be caused by various factors such as worn-out bearings, loose belts, or a malfunctioning pump.
- Leaks and Water Flow Problems. Leaking water or poor water flow can be frustrating issues with GE washers. These problems may stem from damaged hoses, faulty valves, or issues with the water inlet.
- Failure to Start or Complete Cycle. If your GE washer fails to start or complete its cycle, it could indicate problems with the control board, door latch, or timer.
- Draining Issues. Draining problems are another concern that GE washer owners may encounter. Clogs in the drain hose, a malfunctioning pump, or a faulty lid switch could be the culprits behind this issue.
| Common Issue | Probability (%) | Approximate Repair Cost |
| Noisy Operation | 30% | $50 – $200 |
| Leaks and Water Flow Problems | 25% | $50 – $150 |
| Failure to Start or Complete Cycle | 20% | $100 – $250 |
| Draining Issues | 25% | $50 – $150 |
These probabilities and repair costs are estimates and can vary depending on the specific model of the GE washer, the severity of the issue, and local repair service rates. Always consult with a qualified technician for accurate diagnosis and repair estimates.
Pre-Repair Preparations
Before you begin repairing your GE washer, it’s crucial to take some preparatory steps to ensure safety and efficiency throughout the process.
Safety Precautions
- Unplug the Washer: Always start by unplugging the washer from the power outlet to prevent any risk of electrical shock during the repair process.
- Turn Off Water Supply: If your washer is connected to a water supply, turn off the water valves to prevent any leaks or flooding while you work on the appliance.
- Wear Protective Gear: Ensure you wear appropriate safety gear, such as gloves and safety glasses, to protect yourself from any sharp edges or potential hazards.
- Ventilation: If you’re working in a confined space, make sure there is proper ventilation to prevent the buildup of fumes from cleaning agents or dust from the appliance.
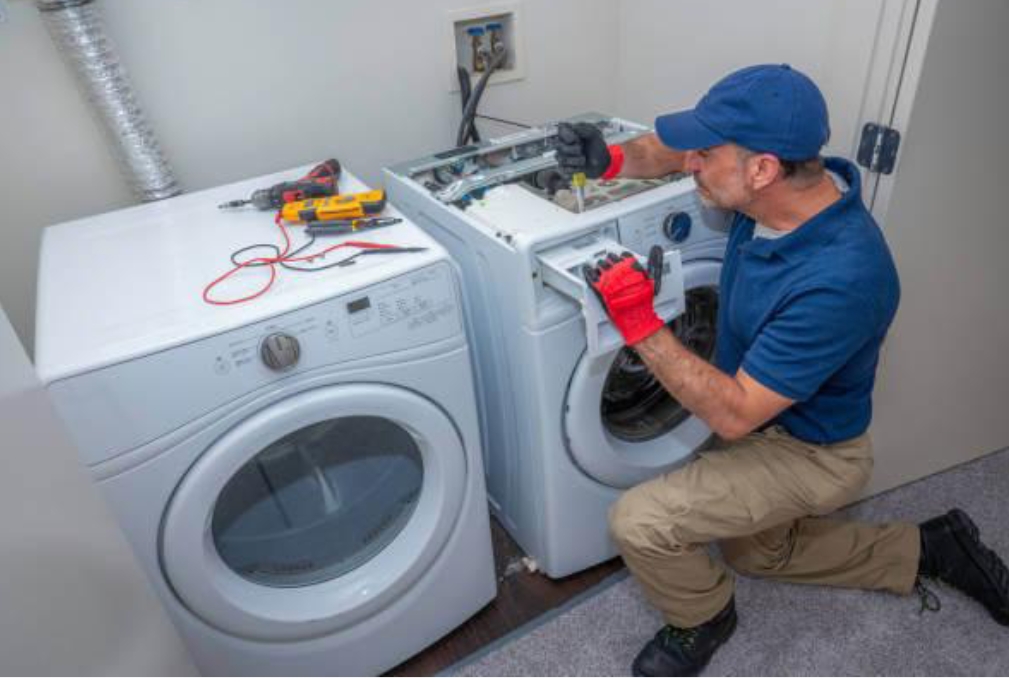
Tools Required
Gather all the necessary tools and equipment before you start repairing your GE washer. Having the right tools on hand can make the process smoother and more efficient. Here’s a list of essential tools you may need:
- Screwdrivers: Both Phillips and flat-head screwdrivers may be required to disassemble various components of the washer.
- Pliers: A pair of pliers will come in handy for gripping and turning nuts, bolts, and hose clamps.
- Wrenches: Depending on the type of fasteners used in your washer, you may need adjustable wrenches or socket wrenches to loosen or tighten bolts and nuts.
- Multimeter: An electrical multimeter is essential for testing the continuity and voltage of electrical components in the washer.
- Flashlight: A flashlight will help you see into dark corners of the washer cabinet and identify any hidden problems.
- Bucket and Towels: Keep a bucket and some towels nearby to catch any water or debris that may spill out during the repair process.
By taking these pre-repair preparations seriously and ensuring you have all the necessary tools and safety precautions in place, you can tackle your GE washer repair with confidence and peace of mind.
Step-by-Step Repair Guide
When it comes to repairing your GE washer, a systematic approach can help you identify and fix common issues effectively. Follow these step-by-step instructions to troubleshoot and repair your washer:
Troubleshooting Noisy Operation
- Inspect the Drum: Start by examining the washer drum for any foreign objects such as coins, buttons, or debris that may be causing the noise. Remove any obstructions you find.
- Check Bearings and Belts: Inspect the bearings and belts for signs of wear and tear. Worn-out bearings or loose belts can cause excessive noise during operation. If you notice any damage, consider replacing these components.
- Tighten Loose Components: Use a screwdriver or wrench to tighten any loose bolts, screws, or fasteners on the washer. Loose components can contribute to noisy operation and may need to be tightened or replaced.
- Inspect the Pump and Motor: If the noise persists after checking the drum, bearings, and belts, it may indicate a problem with the pump or motor. Inspect these components for any signs of damage or malfunction. If necessary, seek professional assistance for repair or replacement.
Fixing Leaks and Water Flow Problems
- Check Hoses and Connections: Inspect the hoses and connections for any signs of leaks or damage. Tighten loose connections and replace any damaged hoses to prevent water leakage.
- Clean Inlet Valve Screens: Remove the inlet valve screens and clean them thoroughly to remove any debris or sediment that may be blocking the flow of water into the washer.
- Inspect the Water Inlet: Examine the water inlet for any signs of damage or obstruction. Clear any blockages and ensure that water can flow freely into the washer.
Resolving Start-Up and Cycle Completion Failure
- Inspect the Control Board: Check the control board for any visible signs of damage or burnt components. If the control board is faulty, it may prevent the washer from starting or completing its cycle. Consider replacing the control board if necessary.
- Test the Door Latch and Timer: Use a multimeter to test the continuity of the door latch and timer. A faulty door latch or timer can prevent the washer from starting or advancing through its cycle. Replace any defective components as needed.
Addressing Draining Issues
- Clear Drain Hose: Check the drain hose for any clogs or obstructions that may be preventing proper drainage. Use a plumbing snake or wire hanger to remove any debris lodged in the hose.
- Test the Pump: Test the washer pump for proper operation by manually activating it using a multimeter. If the pump fails to turn on or is not pumping water effectively, it may need to be replaced.
- Inspect the Lid Switch: Test the continuity of the lid switch using a multimeter. A faulty lid switch can prevent the washer from draining properly. Replace the lid switch if it is defective.
By following these step-by-step instructions and systematically troubleshooting each potential issue, you can effectively repair your GE washer and restore it to optimal performance.
Conclusion
Repairing a GE washer may seem daunting at first, but with the right tools and knowledge, many common issues can be easily resolved at home. By following the step-by-step guide outlined above, you can save time and money on professional repairs while ensuring your washer operates smoothly.